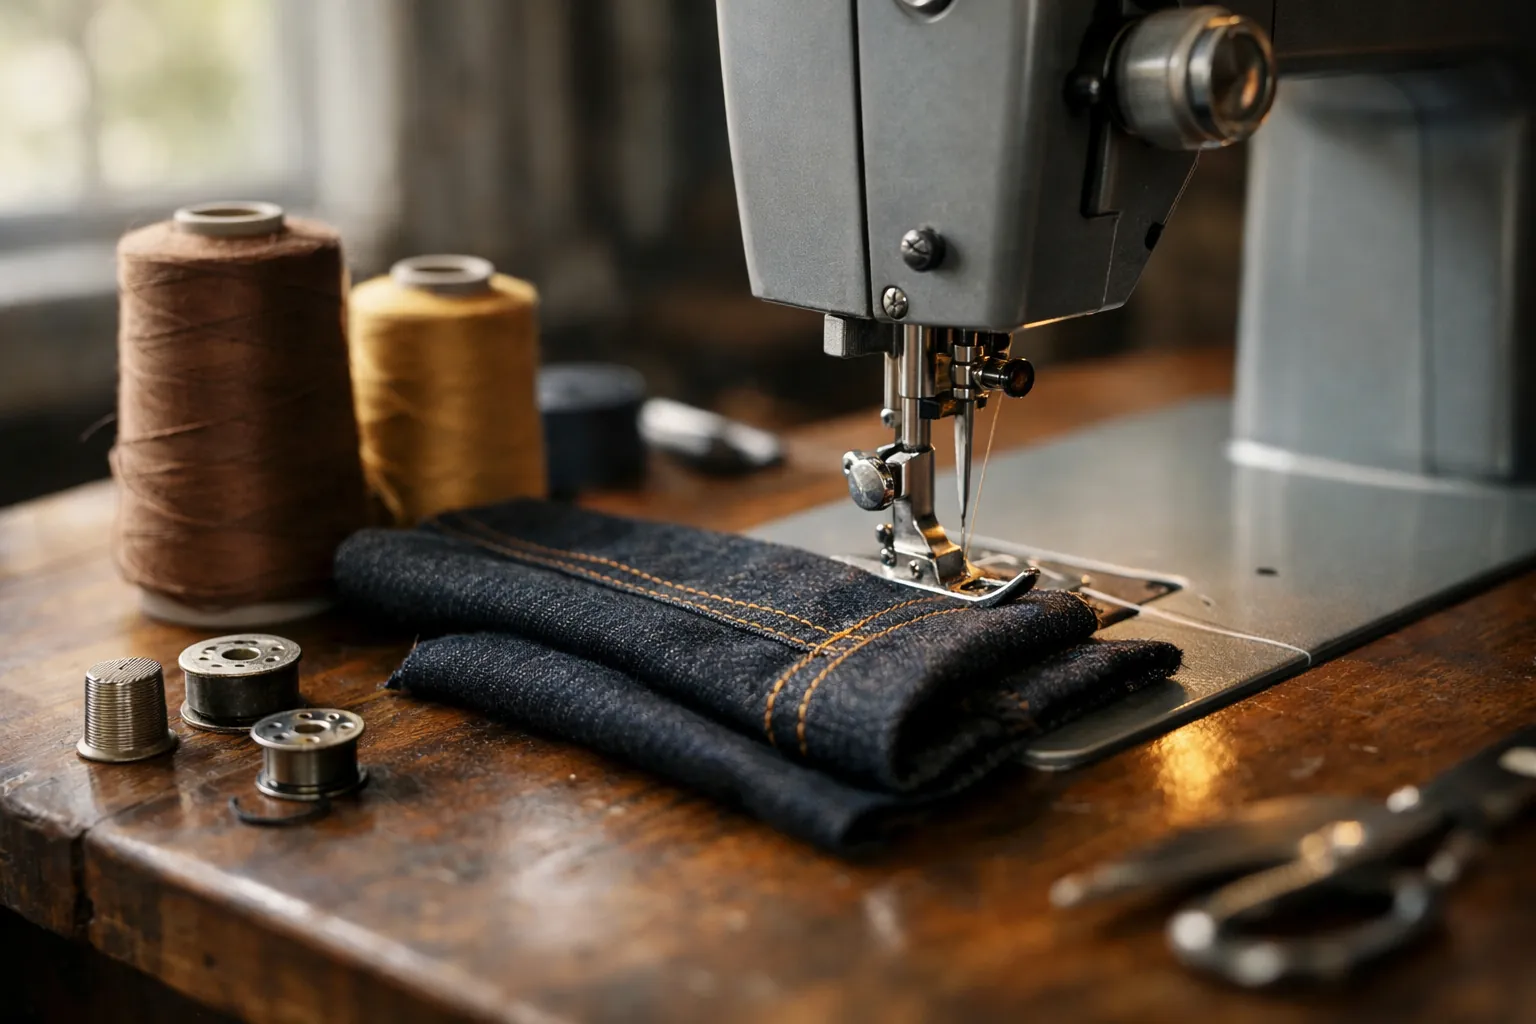
Nearly every Singer Heavy Duty problem traces back to threading, the needle, or the bobbin, and Singer's own manual says so in its troubleshooting chart. Loops under the fabric mean the upper thread missed the tension. Loops on top mean the bobbin thread is wrong. Skipped stitches and broken needles are almost always a needle that's damaged, put in backward or the wrong size. Fix those three and most "my 4423 is broken" moments go away.
The fixes below come from Singer's 4452 and 4432 manuals, whose troubleshooting charts match line for line. The 4411, 4423 and newer 4552 use the same Class 15 drop-in bobbin, according to Singer's product pages, so the same checks apply; confirm anything model-specific in your own manual.
What this is based on
We worked from two kinds of Singer source, read on October 3, 2026. The first is the instruction manuals Singer publishes on its product manuals page: the combined 4443/4452 manual and the 4432 manual have searchable text, and their troubleshooting charts match. The second is Singer's product pages for the 4423, 4411, 4432, 4452 and 4552, for bobbin class and speed. Forum threads were where we found the questions; none of the answers come from them.
This is a spec review. We didn't repair a Heavy Duty for this page; every fix is Singer's, put in symptom order. How we research.
Symptom-first fix table
Start at the row that matches what you see, and do the fixes in order. Each one comes from Singer's troubleshooting chart or tension instructions.
| What you see | Likely cause (Singer) | Fix |
|---|---|---|
| Loops or a bird's nest under the fabric | Upper thread not threaded correctly through the tension | Raise the presser foot, pull the upper thread out, rethread from the spool |
| Loops on top of the fabric | Bobbin thread not threaded correctly | Take out the bobbin, drop it back in with the thread running counterclockwise, pull it through the slit and notch |
| Machine jams, handwheel stuck | Thread caught in the hook because the upper thread missed the tension | Remove the upper thread and bobbin case, rock the handwheel gently by hand, pull the thread out of the bobbin area |
| Upper thread breaks | Threading, tension too tight, thread too thick for the needle, needle in wrong or damaged, thread wrapped on the spool pin | Rethread, lower the tension number, use a bigger needle, reinsert the needle flat side to the back |
| Bobbin thread breaks | Bobbin case not inserted or threaded correctly | Remove and reinsert; the thread should pull out easily |
| Skipped stitches | Needle in wrong, damaged or the wrong size; foot not attached right | New needle of the right size, flat side to the back |
| Needle breaks | Damaged or badly inserted needle, wrong size for the fabric, wrong foot | New needle sized for the fabric; check the foot |
| Seams pucker | Needle too thick, wrong stitch length, tension too tight | Finer needle, adjust stitch length, lower tension number |
| Noisy | Lint or oil built up on the hook or needle bar; damaged needle | Clean the hook and feed dogs; new needle |
Thread bunching underneath (the big one)
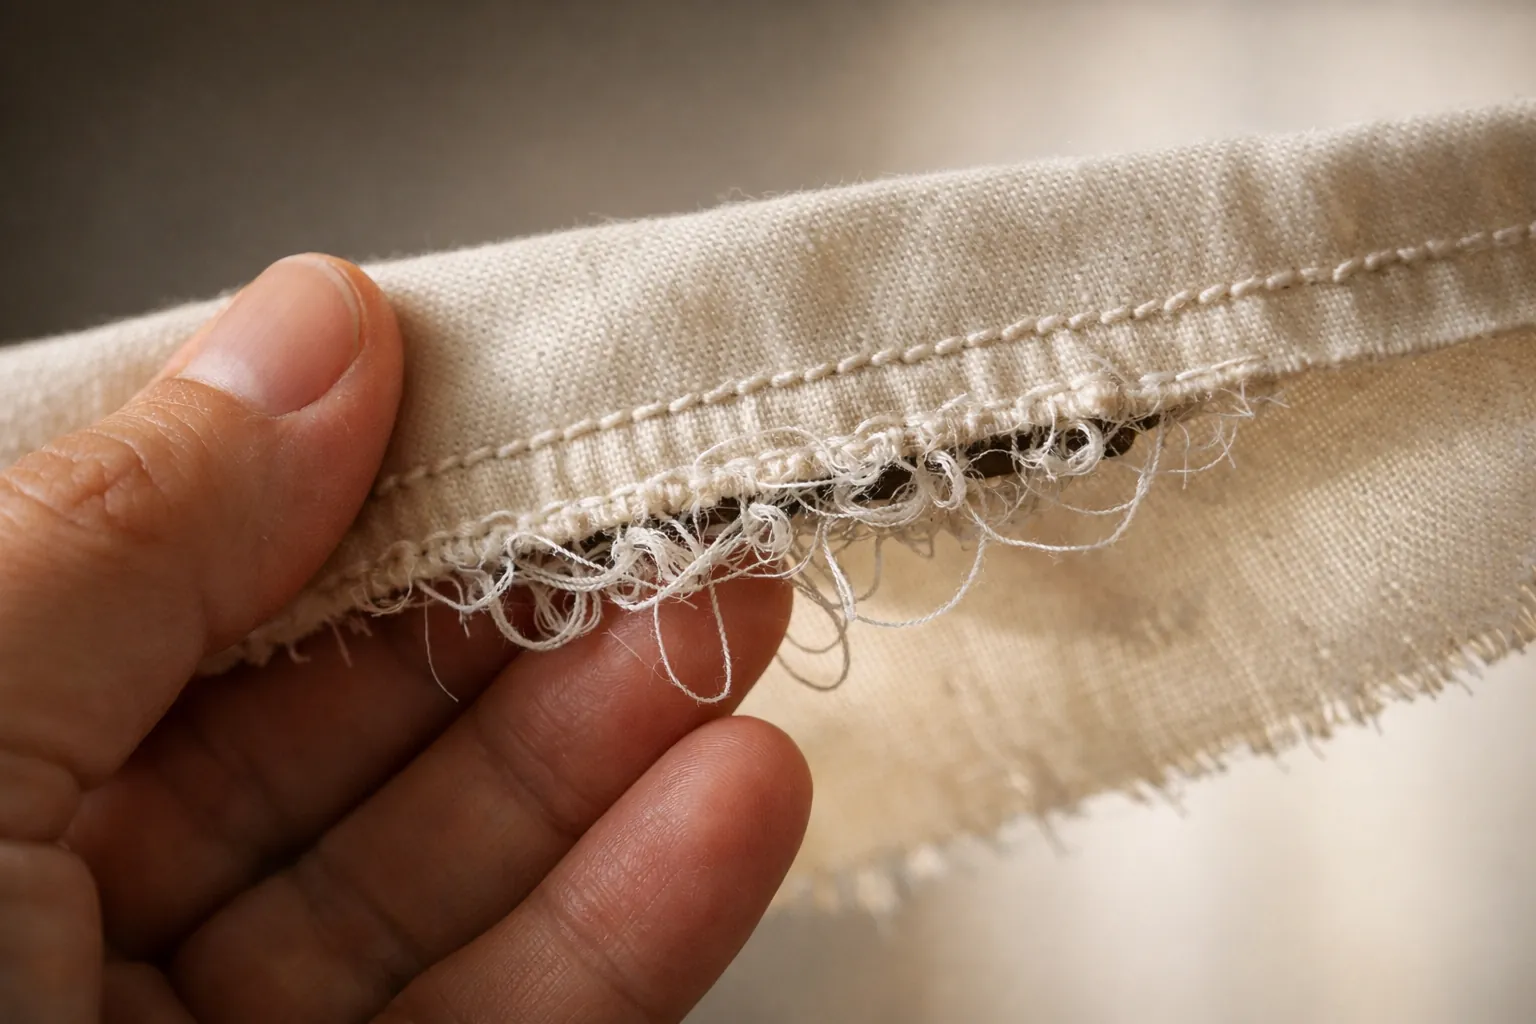
This is the most common Heavy Duty complaint, and it sends people to the wrong part of the machine. Singer's tension page is blunt about it: "If the thread is looping or birdnesting on the underside of the fabric, this is an indication that the upper machine tension is not threaded correctly." The mess is under the fabric, but the fault is above it.
What usually happens: the upper thread was threaded with the presser foot down. With the foot down the tension discs are closed, so the thread rides on top of them instead of between them, and there's no tension at all. Singer's threading instructions tell you to raise the presser foot "to release the tension discs" before you start. Here's the rethread, following Singer's order:
- Turn the power off. Singer recommends this before threading.
- Raise the presser foot. Turn the handwheel toward you until the needle is at its highest point and just starting down.
- Pull the old upper thread out from the needle end so lint doesn't get dragged back through.
- Thread from the spool through the upper guide, the pre-tension spring and down the right channel. Holding the thread lightly between the spool and the guide helps it seat between the discs.
- At the top, pass the thread right to left through the take-up lever, then down behind the guides to the needle, front to back.
- Pull 6 to 8 inches of thread to the back under the foot.
Singer sets the basic tension at "4" and says 90% of sewing falls between 3 and 5. If you've been turning the dial to fight the loops, put it back on 4 after rethreading. The bobbin tension is set at the factory, and Singer says you don't need to adjust it.
For the same problem on any brand, our bobbin thread bunching guide has a 60-second check order.
Bobbin problems: class, direction, case
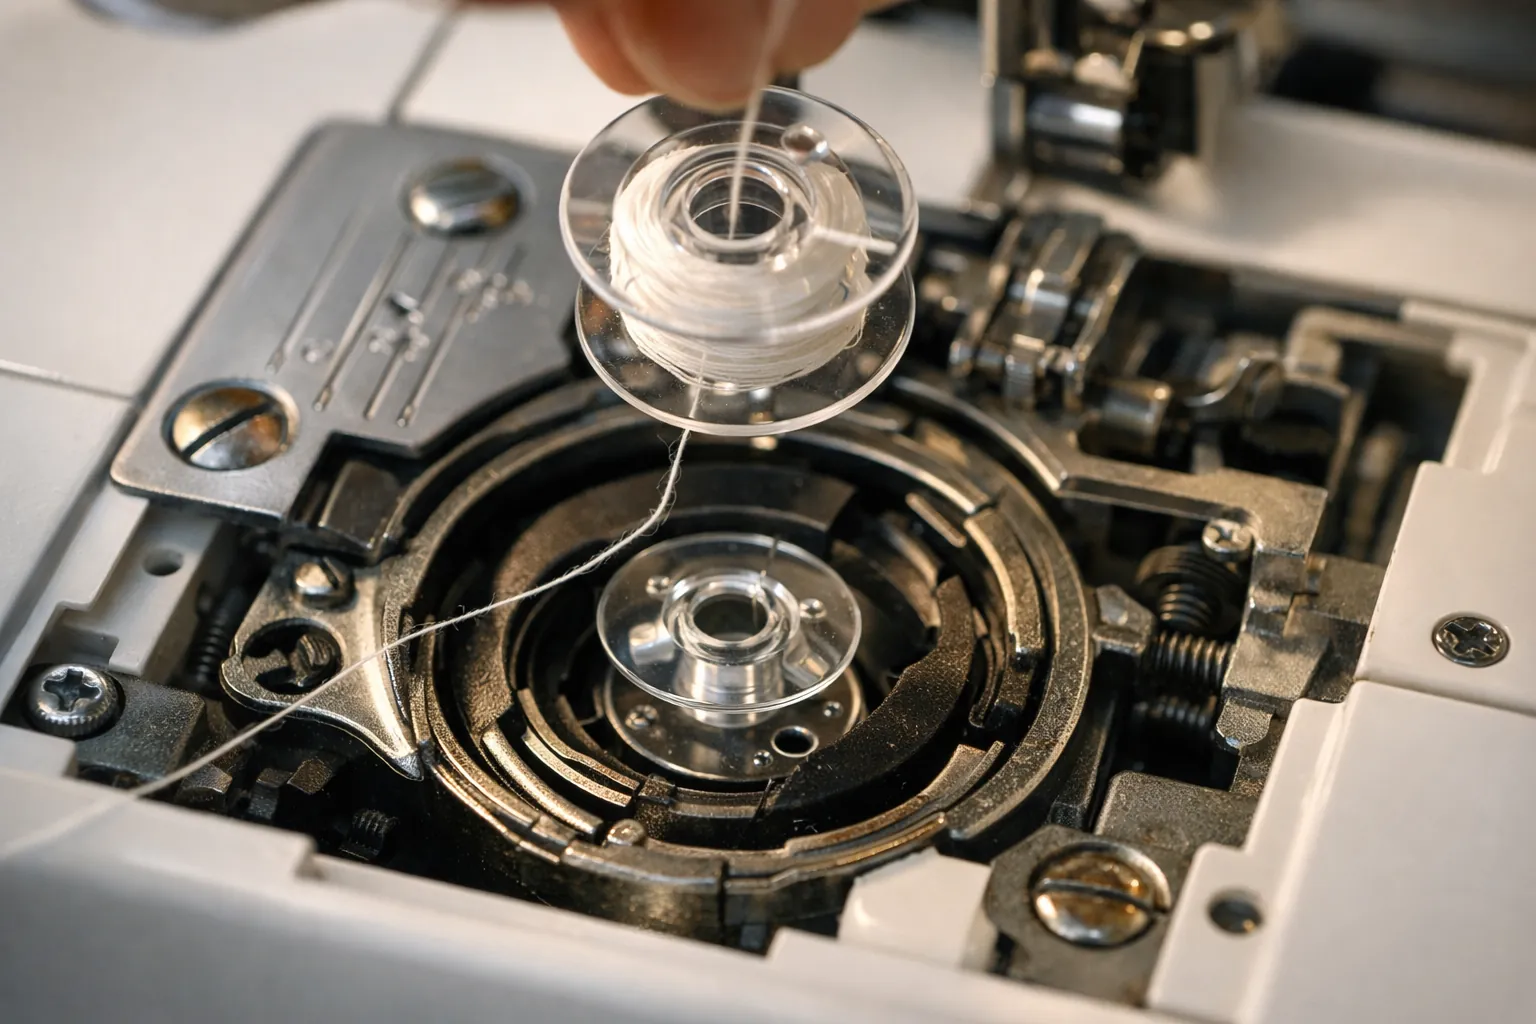
Singer's product pages for the 4411, 4423, 4432 and 4452 say to use Class 15 transparent bobbins, and add that "SINGER or INSPIRA branded bobbins are recommended for best results." The 4552 page lists four Class 15 transparent bobbins in the box. Metal bobbins, Class 66 bobbins, or bobbins that came with another machine are a gamble Singer doesn't endorse. We haven't found a Singer statement that other classes fit, so we wouldn't use them.
Third-party Class 15 bobbins are what most people buy in bulk. NGOSEW plastic bobbins list the 4411, 4423 and 4452 by name (they're not Singer branded, so Singer's "recommended" line doesn't cover them). Bobbins that are scratched or warped can catch the thread, so throw those out rather than rewinding them.
Direction matters. Singer's manual: insert the bobbin "with the thread running counterclockwise," pull the thread through the slit, then draw it clockwise until it slips into the notch while you hold the bobbin down. Turn the power off before you put the bobbin in or take it out. A bobbin dropped in backward is the classic cause of loops on top and a broken bobbin thread.
More on bobbin classes across brands is in what bobbin does my sewing machine use.
Needles: the cause behind skipped stitches and breaks
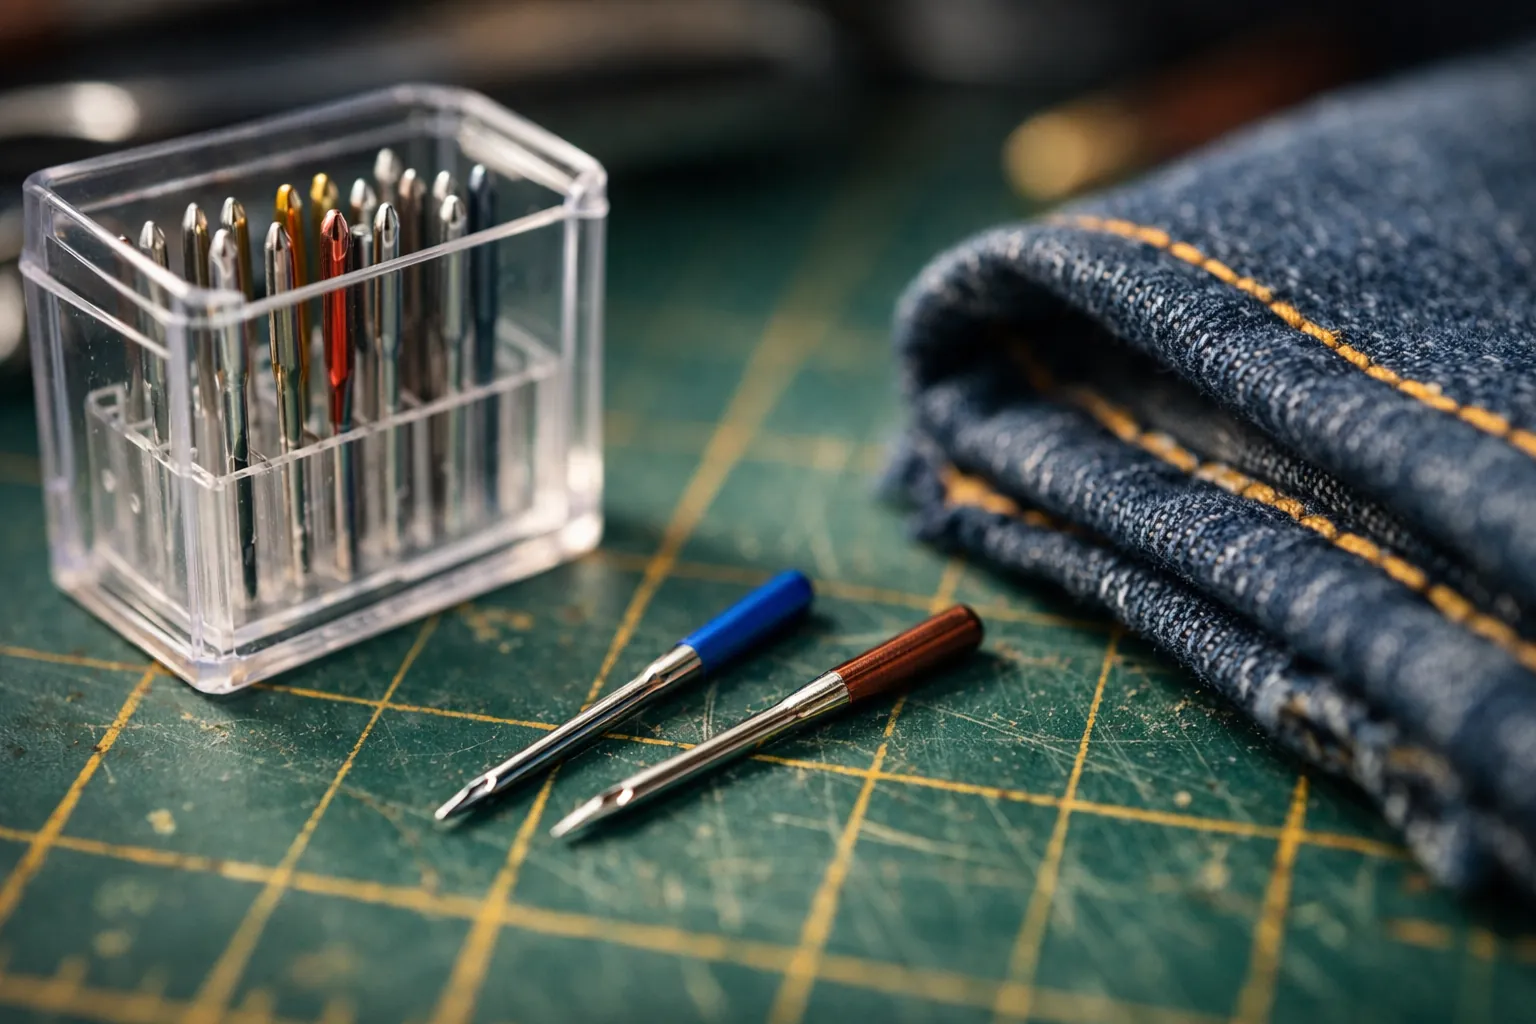
Singer's needle chart for these machines lists three needle styles: 2020 regular point for woven fabrics, 2045 ball point for knits, and 2032 for leather, vinyl and upholstery. Sizes run from 9 (70) for lightweight fabrics up to 18 (110) for heavy coat wool and upholstery. The 4452's box comes with size 16 and size 14 needles.
The manual's advice on changing them is more frequent than most people manage: "approximately every other garment," at the first thread break or skipped stitch, and elsewhere "after an average of 16 hours of sewing" (the 4452 manual). The needle goes in with the flat side of the shank to the back, pushed up as far as it will go.
For denim and canvas, the SINGER Heavy Duty needle pack (sizes 90/14, 100/16 and 110/18, per the listing) is one of Amazon's best-selling needle packs, with more than 13,000 ratings. For everyday woven cotton, SINGER 2020 needles in 90/14 are the general-purpose size. On heavy fabric, Singer suggests heavy-duty thread in the top, all-purpose thread in the bobbin and a stitch length of 3 or 4. See our needle size chart for every fabric.
The timing myth (and the real rule)
Forum threads blame "timing" for almost everything, and occasionally they're right. But Singer's manual is clear about the one habit that can disturb it: "Never turn the handwheel away from you as this may cause the timing to be disrupted. Always turn the handwheel counterclockwise (towards you)." The exception it gives is a jam, where you rock the handwheel gently back and forth by hand to free the thread.
If you've rethreaded top and bottom, fitted a new needle of the right size, cleaned the bobbin area, and the machine still skips every stitch or the needle hits the plate, that's when timing becomes a real suspect. Adjusting timing isn't a user job in Singer's manual. Take it to an authorized Singer service center.
Cleaning, noise and a dead pedal
Singer's chart puts a noisy machine down to lint or oil collected on the hook or the needle bar, plus a damaged needle. Unplug the machine, remove the needle plate per the manual, and brush out the hook area and feed dogs. A small sewing machine cleaning kit with a lint brush and curved tweezers makes this quick. The manuals also say to unplug the power cord when the machine isn't in use.
A machine that's dead or runs on and off when you press the pedal isn't covered by the troubleshooting chart. Check that both plugs are seated, then contact Singer support rather than opening the pedal.
When it's time for service
Book an authorized Singer service center when the needle strikes the needle plate with a new, correctly inserted needle, when the handwheel won't turn by hand after you've cleared the bobbin area, when you smell burning, or when stitches won't form after every fix above. Those are past what Singer's manual asks owners to do.
If you're weighing a repair against a replacement, our page is Singer a good sewing machine? compares the Heavy Duty models, and the best heavy duty sewing machines covers the alternatives.
Fixes and quotes from Singer's 4443/4452 and 4432 instruction manuals and singer.com product pages for the 4411, 4423, 4432, 4452 and 4552, all checked October 3, 2026. Product facts from each Amazon listing on the same date. How we research · Affiliate disclosure