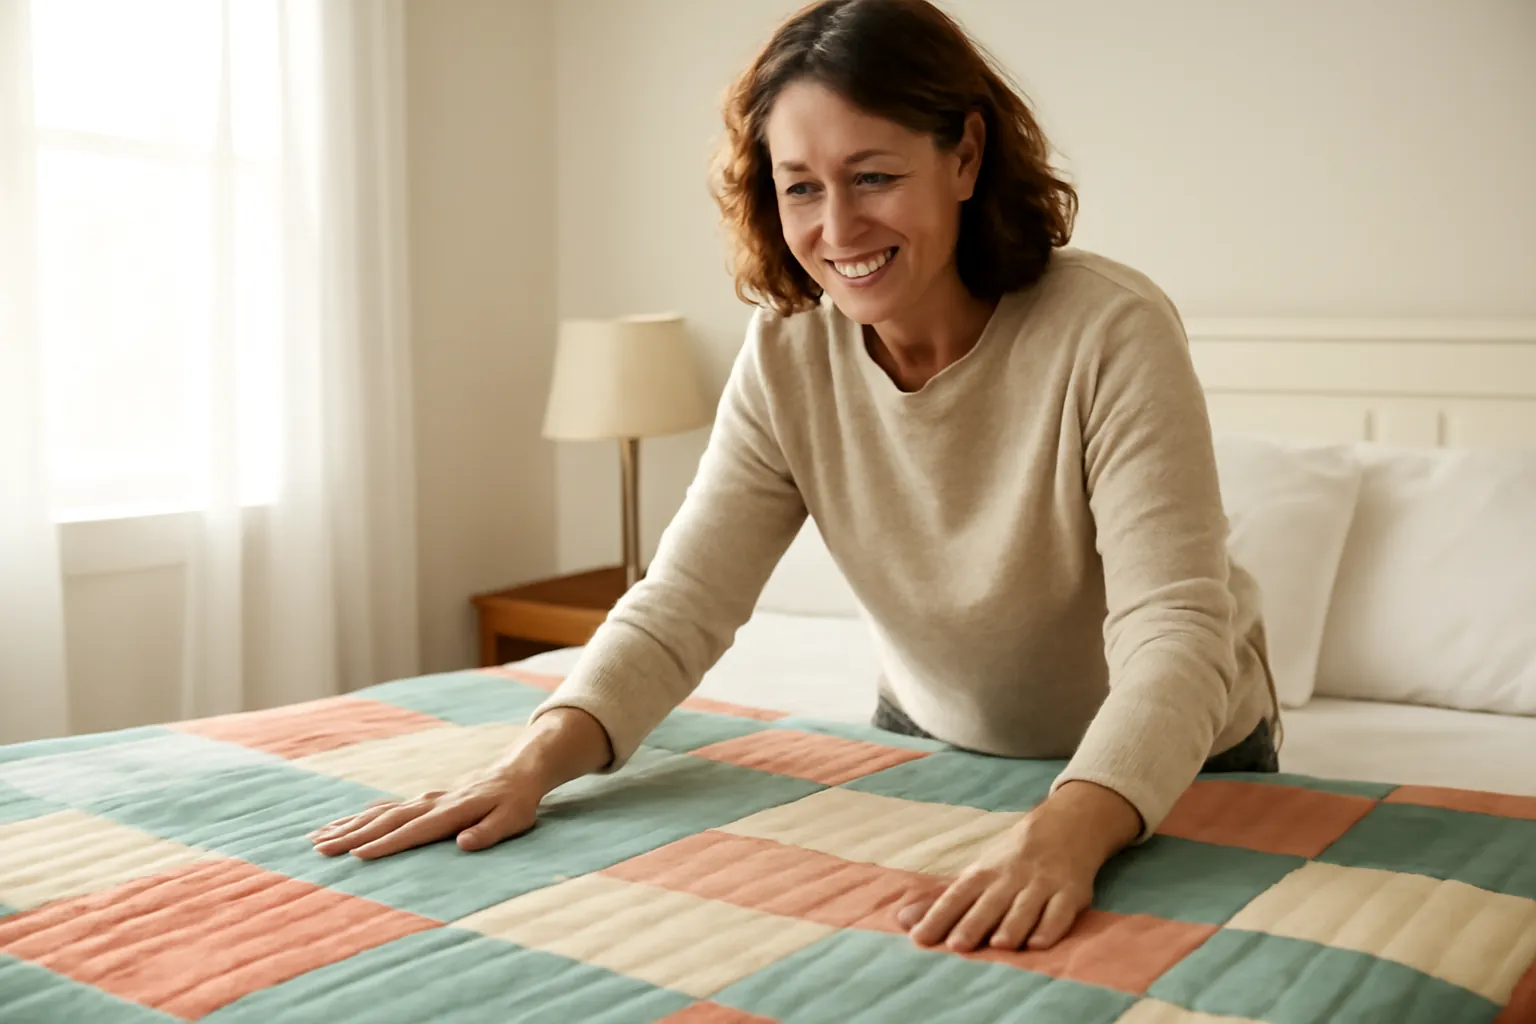
Fit the walking foot with its fork resting on the needle clamp screw, tighten it hard, set the stitch length to about 3 mm and sew slowly in straight lines. That's most of it. The foot carries its own set of feed teeth on the underside, driven by the needle bar, so the top of the quilt moves at the same speed as the backing. Without it, the presser foot pushes the top layer ahead and you find the puckers when you turn the quilt over.
Before any of that, check that you need one, and that the one you buy fits. Some machines have dual feed built in, and walking feet differ by brand and by shank.
Do you need a walking foot?
Most home machines feed only from below. Machines with a built-in top feed don't need the add-on foot for quilting, and a few jobs need a different foot entirely.
| Your situation | What to use | Why |
|---|---|---|
| Machine has Janome AcuFeed, Pfaff IDT or Bernina dual feed | The machine's own dual feed foot | The top feed is built in. Janome lists its AcuFeed foot for the Skyline S6, S7 and S9, four Continental models and the larger Memory Craft machines. |
| Straight lines, ditch quilting or binding on a regular machine | Walking foot | It keeps the three layers moving together. |
| Stippling, loops, feathers, any direction | Free motion foot, feed dogs down | A walking foot only feeds forward. See free motion quilting for beginners. |
| Piecing the quilt top | 1/4 inch foot | Two layers of cotton rarely shift, and seam accuracy matters more. |
The Sewing Machine Man newsletter makes a useful point here: a walking foot doesn't let a machine sew thicker fabric than it otherwise could. It fixes uneven feeding. Power and clearance under the foot still come from the machine.
Pick one that fits
Walking feet are not universal. Fit comes down to the shank (low, high or slant, measured on the presser bar) and the machine's maximum stitch width (5, 7 or 9 mm). Janome also splits feet by bobbin type. Our fit pages turn each maker's own lists into a table by model:
- Walking feet for Brother machines, from Brother's own fit lists
- Walking feet for Singer machines, decoded from Singer's fit groups, plus slant-shank vintage Singers
- Walking feet for Janome machines, from Janome's own fit lists, AcuFeed machines included
If you're not sure what shank you have, our presser feet guide shows how to measure it. For a low-shank machine, the HONEYSEW open toe walking foot with guide was the best seller we found, with 1,000+ bought in the past month and 1,151 ratings; its listing says it fits low-shank models from Brother, Singer and several other brands. Singer owners with a Heavy Duty or other machine in Singer's CA, CB, EA, MA or MB groups can buy Singer's own Even Feed walking presser foot instead.
How to put on a walking foot
A walking foot replaces the whole foot holder, not just the snap-on sole. The steps below follow Brother's XM2701 manual and Singer's instructions for its Even Feed foot, which describe the same sequence:
- Turn the machine off. Raise the needle to its highest point with the handwheel, and raise the presser foot lever.
- Unsnap the foot, then loosen the presser foot screw and take off the holder (Singer calls it the ankle). Keep the holder and screw somewhere safe.
- Slide the walking foot onto the presser bar from behind, with its arm or fork sitting over the needle clamp screw, the screw that holds the needle in.
- Lower the presser foot lever and tighten the presser foot screw firmly with the screwdriver, not just with your fingers.
- Turn the handwheel toward you through a full stitch. The needle has to pass cleanly through the opening, and the foot's teeth should rise and fall as the needle moves.
Brother warns that a loose presser foot screw can let the needle hit the foot, which is the most common way people break needles with one. The National Quilters Circle adds that the fork is the most fragile part of a walking foot, so store it where it won't get knocked.
Settings before you quilt
Put in a fresh needle. National Quilters Circle suggests a quilting or Microtex sharp in 75/11 or 80/12 with 50 wt thread; go up a size for heavier thread. Then set the stitch length for the thickness of the sandwich:
| Layers | Starting stitch length | Source of the range |
|---|---|---|
| Quilt with thin cotton or cotton-blend batting | 2.5 to 3 mm | National Quilters Circle |
| Thicker or polyester batting, most quilting | 3 to 3.5 mm | Linda's Electric Quilters |
| Gentle curves | Slightly shorter than your straight lines | Ageberry: shorter stitches keep curves smooth |
| Sewing on binding | 2.5 to 3 mm | Seasoned Homemaker's binding method |
Two more settings matter if your machine has them. If the presser foot pressure is adjustable, ease it off a little for a thick quilt so the sandwich isn't squashed flat in front of the foot. And turn on needle down, so the quilt stays put every time you stop. Brother's manuals say to sew at slow to medium speed with the walking foot; the foot's teeth are driven mechanically and a steady pace keeps them in step.
Make a test sandwich from scraps of the real fabric and batting, sew a few lines and look at both sides before you start on the quilt.
Straight-line quilting, step by step
- Baste the quilt so the layers can't drift far. Pins, spray or thread all work; take pins out before the foot reaches them.
- Start near the middle and work outward, so any fullness gets pushed to the edges instead of trapped in the center.
- Roll the side of the quilt that goes under the arm, and support the rest on a table so its weight doesn't drag on the needle.
- Start each line with a few very short stitches, or leave tails to tie off later. Brother's manuals say not to sew reverse stitches with the walking foot, and Singer's instructions say to avoid stitches with many backward stitches.
- Sew at an even pace with your hands flat on either side of the foot, guiding rather than pushing.
Using the guide bar
Most walking feet have a small hole or slot at the back for a guide bar. Slide the bar in, set it to your spacing, and sew the first line along a marked line or a seam. For every line after that, keep the bar riding on the previous line of stitching. It saves marking the whole quilt, though a long quilt is worth checking with a ruler every few lines because small errors add up.
Patterns that suit a walking foot
Stitch in the ditch (along the seamlines, so the stitching hides), straight lines spaced by the guide bar, grids on the straight or the diagonal, and matchstick quilting, where lines are added between lines until they sit roughly a matchstick apart. Fave Quilts walks through all four. Gentle waves work too. For a tighter curve, stop with the needle down, lift the foot, turn the quilt a little and carry on.
When the top is quilted, the same foot sews the binding on. Our guide to binding a quilt by machine picks up from there.
Plaids and knits
Plaids slip because the feed dogs pull the bottom layer a fraction faster than the presser foot lets the top move, and the error grows along a seam. With a walking foot both layers advance together. Line up the plaid at the start, pin at each major stripe across the seam, and remove each pin just before the foot reaches it. The Madam Sew and HONEYSEW listings both pitch their feet for matching prints and plaids, and that's the one non-quilting job most owners buy one for.
Knits stretch when a normal foot drags the top layer, which gives wavy seams. A walking foot reduces that. Brother's manuals limit the walking foot to straight and zigzag stitches, so use a narrow zigzag on knits rather than a stretch stitch with reverse motions, and sew slowly. Ageberry also reaches for one on minky and fleece, and on slippery lycra or vinyl.
When it isn't working
| Problem | Likely cause | Fix |
|---|---|---|
| Needle hits the foot | Loose presser foot screw, or a foot narrower than your stitch width | Tighten the screw; keep zigzags inside the opening; check by turning the handwheel |
| Top layer still creeps | Fork not on the needle clamp screw | Refit the foot and watch the teeth move when you turn the handwheel |
| Fabric doesn't feed at all | Feed dogs still lowered from free motion work | Raise the feed dogs (Ageberry reader report) |
| Stitches look tiny or uneven | Stitch length too short for the loft, or uneven speed | Lengthen the stitch a step; sew at a steady pace |
| Pleats where quilting lines cross | Layers not basted closely enough, or lines all started from one edge | Baste more, and quilt from the center outward |
If the needle area itself is the issue, our skipped stitches guide goes through needles and threading.
Two feet that pair with it
A walking foot doesn't replace the 1/4 inch snap-on foot with guide for piecing; that one sold 1,000+ last month and fits low-shank machines per its listing. For stitching in the ditch on a well-pieced quilt, some people prefer the precision of a stitch in the ditch / edge joining foot (1,815 ratings), which has a center blade to follow the seam. On a thick quilt the walking foot is still the safer choice.
If your machine is the bottleneck, our sewing machines for quilting page compares throat space and machines that include a walking foot in the box.
Fitting steps and usage rules from Brother's XM2701 and XR9550 operation manuals and Singer's Even Feed foot instructions (SKU 250060096). AcuFeed fit list from Janome's dual feed foot page (janome.com, part 859819017), read October 21, 2026. Settings attributed in the text to National Quilters Circle, Linda's Electric Quilters, Ageberry and Fave Quilts. Product details and sales from each Amazon listing, October 21, 2026. How we research · Affiliate disclosure