
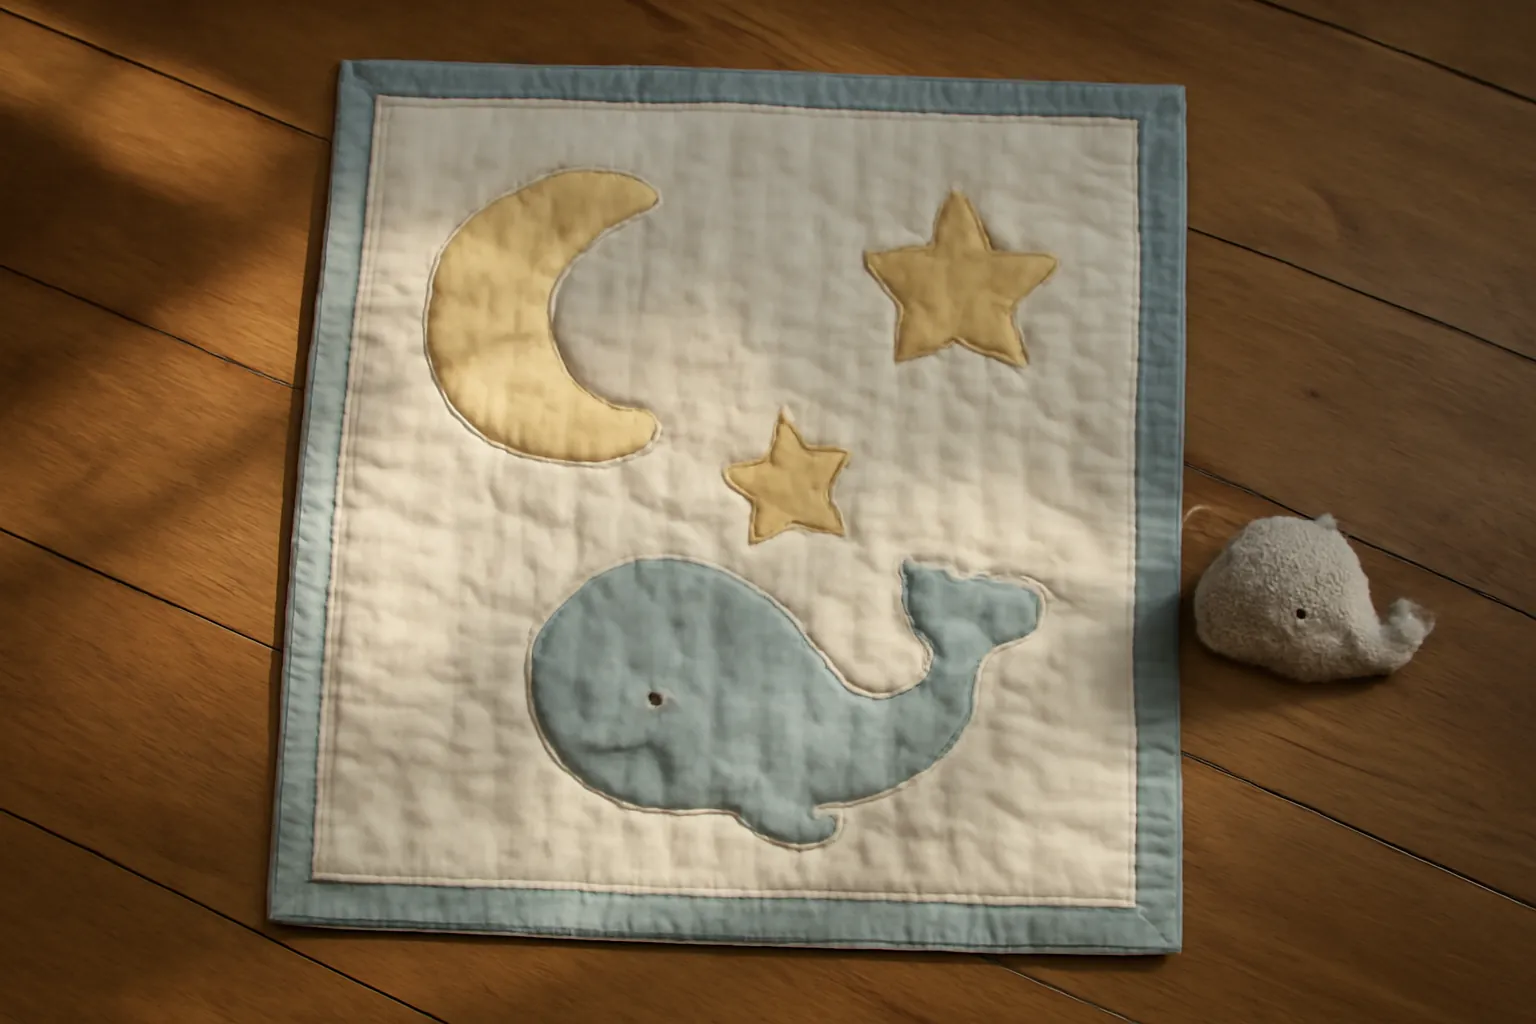
Any sewing machine with a zigzag can appliqué. Fuse the shape to the background with paper-backed fusible web, put tear-away stabilizer underneath, fit an open toe foot and sew around the edge with a dense zigzag (a satin stitch) so the right swing of the needle lands just off the shape. An embroidery machine does the same thing from a digitized appliqué design: it sews a placement line, stops for your fabric, tacks it down, waits while you trim, then finishes the edge.
Which machine to use depends on what you're making, not on which gives the better edge. Both can look professional.
Sewing machine or embroidery machine?
| Sewing machine | Embroidery machine | |
|---|---|---|
| Shapes | Anything you can draw and cut, any size | Digitized appliqué designs, or ones you create on machines that can (some Brother models have an appliqué option) |
| Size limit | None beyond what fits under the arm | The hoop: a 4 x 4 inch hoop means a 4 x 4 inch design |
| Edge finishes | Raw edge, satin, blanket or any decorative stitch you have | Whatever the design was digitized with, usually satin |
| Your job | Steering the edge by hand at every curve | Placing and trimming the fabric; the machine stitches |
| Best for | Quilt blocks, one-off shapes, big pieces | Names, letters, repeats, patches, shirts |
If you don't own an embroidery machine yet and appliqué letters are the reason you're looking, our guide to the best embroidery machines for beginners covers hoop sizes, and embroidery machine vs sewing machine explains what each can't do.
What you need
- Paper-backed fusible web. FlexiFuse lightweight fusible web is sold for appliqué, says it doesn't gum the needle, and comes in 8 x 10.5 inch sheets.
- Tear-away stabilizer for satin stitch on a sewing machine. The New brothread tear-away 8 x 8 inch sheets are 1.8 oz medium weight, list appliqué among their uses and had 14,614 ratings with 3,000+ bought last month.
- An open toe foot. The DREAMSTITCH 7mm snap-on open toe foot has a wide channel underneath for dense stitches; it's a low-shank snap-on with 1,503 ratings. Our presser feet guide covers shank fit.
- Sharp scissors for trimming close. Duckbill appliqué scissors have a wide, flat blade that slides under the top layer and protects the one below, which matters when you trim in the hoop.
- Thread and needle: NMSU suggests a size 11 sharp for light and medium fabrics, 14 or 16 for heavier ones, all-purpose or cotton embroidery thread on top and a neutral thread in the bobbin.
Prepare the shapes
- Preshrink the fabrics, as NMSU advises, so the appliqué doesn't pucker the background after the first wash.
- Trace the shape onto the paper side of the fusible web in reverse, since it flips when you fuse it. Sulky's tutorial does exactly this for lettering and asymmetric shapes.
- Fuse the web to the wrong side of the appliqué fabric, cut out on the line, peel the paper and fuse the shape to the background.
- Put stabilizer under the background where you'll stitch.
Satin stitch appliqué on a sewing machine
Satin stitch is a zigzag with the length shortened until the stitches sit side by side. Set the width first, then bring the length down on a scrap until the line looks solid. NMSU's guidance: smaller designs and firm fabrics take a narrower zigzag; too long a stitch lets the edge fray, and too short a stitch bunches up and can jam the machine.
| Piece | Width (starting point) | Length | Note |
|---|---|---|---|
| Small shapes, tight curves, letters | About 2 mm | Shorten until solid, around 0.3 to 0.5 mm (F on a Brother XM2701) | Narrow is easier to steer round curves |
| Medium shapes in quilting cotton | About 2.5 to 3 mm | Same | Most quilt-block appliqué |
| Large shapes, looser weaves | 3.5 mm and up | Same | Loose weaves need more cover; on a 7 mm machine you can go wider |
These are our starting points, built from NMSU's rules and the 2 to 4 mm satin range in our zigzag stitch guide. They aren't a manufacturer's spec. A 5 mm machine tops out at 5 mm; test every setting on a scrap with the same fabric, thread and stabilizer.
Sewing it
- Start on a straight side or a gentle curve, never at a point. NMSU locks the start with 5 or 6 tiny straight stitches before the zigzag, and the end with the same along the edge of the satin.
- Guide so the right swing of the needle just clears the edge of the shape, as in the diagram. Sew slowly; it's dense stitching.
- At a corner, stop with the needle down at the outside edge, raise the foot, pivot and lower it again so the stitches overlap neatly (NMSU's method). On curves, make small pivots often rather than steering while sewing.
- Tear the stabilizer away gently from the back, holding the stitches with your thumb.
If the background draws up into a ridge inside the stitching (tunneling), the fabric needs more support. NMSU keeps two fingers in a V either side of the foot to hold it taut, and Sulky uses Soft n Sheer stabilizer with a temporary spray adhesive for the same reason.
Raw-edge and blanket stitch
Raw-edge appliqué is the fast one. Fuse the shape and sew a straight stitch just inside its edge; Sulky's tutorial stitches "along or just inside the cut edges". The edge stays exposed and frays a little in the wash, which many quilters want for a soft, textured look. Use a stitch length around 2 to 2.5 mm so the line follows curves.
Blanket stitch sits between the two: a straight stitch along the outside of the shape with a bite into it every few millimeters. If your machine has one, it often appears on the stitch chart as an appliqué stitch. Set it so the straight part runs in the background right beside the edge. It reads as hand-sewn and covers the edge better than raw-edge stitching.
Appliqué on an embroidery machine
Use designs digitized as appliqué. They carry the stops a normal embroidery design doesn't. The sequence, as Kimberbell describes it:
- Hoop the base fabric with stabilizer and start the design. It sews a placement line, an outline of where the fabric goes, then stops.
- Lay the appliqué fabric over the line so it covers it completely. A light mist of temporary spray adhesive stops it shifting.
- The machine sews a tackdown line to hold it, then stops again.
- Take the hoop off the machine, without taking the fabric out of the hoop, and trim close to the tackdown line. Duckbill scissors keep you from cutting the base.
- Put the hoop back. The machine sews the satin or decorative edge over the trimmed edge.
Brother's embroidery manuals name these stops APPLIQUE MATERIAL, APPLIQUE POSITION and APPLIQUE in the color order, and describe two ways to work. In Brother's Appliqué 1, you sew a cutting line on the appliqué fabric first, cut the piece out and then place it. In Appliqué 2, the base fabric stays in the frame the whole time and you tape the appliqué fabric over the outline, then trim in place. Brother's warning for that step: "Do not pull or push on the fabric to cut it", because the fabric can loosen in the frame.
Patches are mostly appliqué designs too; our embroidery machines for patches page covers the machines and hoop sizes, and where to find embroidery machine designs covers buying appliqué files.
Stabilizer by method
| Method | Stabilizer | Why |
|---|---|---|
| Satin stitch, woven fabric, sewing machine | Tear-away under the background | Stops tunneling; tears off after |
| Raw edge on a quilt top | Often none; the fusible and the quilting hold it | A straight stitch doesn't pull the fabric in |
| Embroidery machine, stable woven | Tear-away, hooped | Supports the dense satin edge |
| Embroidery machine, knit or sweatshirt | Cut-away, hooped | Stays in to stop the stitching distorting the stretch |
Fusible web holds the shape in place but isn't a stabilizer. Our embroidery stabilizer guide covers weights and wash-away types in more detail.
When it goes wrong
| Problem | Fix |
|---|---|
| Edge frays through the satin stitch | Shorten the length, or move so the right swing lands just past the edge |
| Background ridges inside the stitching | More stabilizer, and hold the fabric taut either side of the foot |
| Bobbin thread shows on top | Loosen the top tension a step so the top thread wraps slightly to the back, and check the bobbin is threaded correctly |
| Gaps at corners | Pivot with the needle at the outside edge so stitches overlap |
| Fabric shifted before the tackdown (hoop) | Spray baste or tape it, and press the fabric flat first |
Sources, read October 21, 2026: NMSU Extension Guide C-217, Sewing Machine Appliqué; Sulky; Kimberbell; Brother's online embroidery operation manual, Appliqué Patterns and Appliqué 2. Product details and sales from each Amazon listing, October 21, 2026. How we research · Affiliate disclosure