
Every serger rolls a hem the same way: one needle, the narrowest stitch, the shortest length and a lower looper tight enough to pull the fabric edge under. Only the switch is different. Brother 1034D owners pull out the stitch finger, Juki MO-654DE owners pull a knob forward and Janome MOD-8933 owners slide the needle plate knob from S to R. The table below lists each maker's numbers from its manual. Use the row for your serger, test on a scrap, and adjust the lower looper first.
Where these settings come from
We read three instruction manuals on Oct 21, 2026: Juki's MO-644DN/654DEN manual, the Janome MOD serger instruction book linked from Janome's MOD-8933 page, and Brother's 1034D handbook and 1034DX manual (the Brother numbers are tabled in full on our Brother 1034D tension settings page). Every number on this page is printed by the maker. We also read the rolled hem guides that rank today: the American Sewing Guild, Coats & Clark on Yarnspirations, AgeBerry and My Girlfriend's Quilt Shoppe. Not one of them gives settings for a named machine.
This is a spec review. The settings are the makers'; we haven't serged these edges ourselves on each machine. How we research.
How a rolled hem forms
A normal 3-thread overlock lays the loopers flat over the edge. For a rolled hem you take away the support that holds the edge flat (the stitch finger, or the wide part of the needle plate) and tighten the lower looper. The lower looper then pulls its loop all the way to the needle line and drags the cut edge under, and the upper looper thread wraps around the roll. That's why the upper looper thread is the one you see, and why woolly nylon goes there.
Rolled hem settings by machine
| Setting | Brother 1034D / 1034DX | Juki MO-654DE | Janome MOD-8933 |
|---|---|---|---|
| Needle | Remove the left needle; right needle only | Remove the left needle; thread as 3-thread overlock | Right needle, HA-1 SP No. 11 |
| Rolled hem switch | Remove the stitch finger (stored in the front cover) | Pull the overlocking width selection knob forward to the front red mark | Move the needle plate setting knob from S to R (upper knife off, cutting width dial pushed right) |
| Stitch length | R | 1 to 1.5 | R |
| Width / knife | R (1034D handbook: R.5 on two-needle models) | Lower knife knob at 1 to 2 | Set by the R plate position |
| Differential feed | 1.0 normal (DX manual) | Not specified for rolled hem; manual's chart uses N to 0.7 for georgette that puckers | 1.0 |
| Needle tension | 4 (1034D handbook) | 4 to 6 (spun #80); 3 to 5 (filament #80) | 3 to 5 |
| Upper looper | 3 (1034D); 5 (1034DX, fine fabric) | 3 to 5 | 2 to 4 |
| Lower looper | 6 (1034D); 7 (1034DX) | 7 to 9 (spun #80); 6 to 8 (filament #80) | 6 to 8 |
| Looper thread | Woolly nylon or decorative in the upper looper; #80 nylon or polyester in needle and lower looper | Woolly nylon in the upper looper only; spun thread thinner than #80 | Woolly nylon, woolly polyester, or synthetic #80 to 100 in both loopers |
| Fabrics named | Crepe de chine, georgette, lawn, organdie | Light weights such as georgette (pressure note) | Organdy, crepe de chine, lawn, georgette |
Sources: Juki MO-644DN/654DEN instruction manual, "Roll hemming," p. 26, and differential chart, p. 28; Janome MOD serger instruction book, p. 26 (needle plate knob) and p. 62 (machine setting and tension ranges); Brother 1034D handbook (884-345) p. 45 and 1034DX manual (884-B02/B03) p. 25, as tabled on our 1034D page. Janome prints a range for each dial; start in the middle of it.
Notice the two 1034 models don't agree, and the DX starts the loopers tighter. If you followed a video and your edge won't roll, check which model it was filmed on. Our 1034D vs 1034DX comparison shows how to tell them apart, and the 1034D threading guide covers the right-needle-only threading.
Own a different serger? The pattern holds. Look in the manual's index for "rolled hem" or "roll hemming", find what replaces the stitch finger on your machine, and copy its tension row. The Juki MO-50E and Janome MOD models in our best serger for beginners list have a built-in or quick-change rolled hem, so no parts come out.
Step by step
- Turn the serger off. Take out the left needle (Brother, Juki) and leave the right one threaded.
- Engage the rolled hem: remove the stitch finger, pull the knob forward or move the plate knob to R, as your row says.
- Set the stitch length and width or knife per the table. Leave differential at 1.0 for now.
- Thread woolly nylon in the upper looper if you're using it, and set the three tension dials to your machine's starting numbers.
- Serge a test on a scrap of the real fabric, cut on the same grain. The American Sewing Guild and every manual we read say the same thing: the fabric decides the final numbers.
- Hold the thread chain lightly toward the back at the start and end, as Janome's manual suggests, so the first stitches don't bunch.
- When you return to normal overlocking, put the stitch finger back (Brother) or reset the knob, and reinstall the left needle.
When the edge looks wrong
| What you see | Change this | Source |
|---|---|---|
| Edge lies flat instead of rolling | Tighten the lower looper one number; loosen the upper looper | Janome manual, p. 67 |
| Edge still flat after that | Check that the stitch finger is out or the knob is on R | All three manuals |
| Fabric fibers poke through the stitches | Shorten the stitch, or switch to woolly nylon in the upper looper for fuller cover | AgeBerry tutorial; ASG |
| Stitches pull off the edge | Lengthen the stitch slightly, or loosen the lower looper | AgeBerry tutorial |
| Edge ripples or flutes on a woven | Turn differential below 1.0 (Juki's chart: 0.7 for puckering georgette) | Juki manual, p. 28 |
| Edge won't roll on stiff fabric | Use a narrow overlock instead; some fabrics won't roll | ASG |
Change one dial at a time and sew a new few inches after each change. Two changes at once and you won't know which one fixed it.
Thread for a rolled hem
The thread in the upper looper is the edge you'll see, so that's where to spend. Woolly nylon relaxes and fills in between stitches, which hides the fabric peeking through. ThreadArt woolly nylon comes in 1,000 m spools in 50 colors (the white is a good start), and its listing says it works in both loopers. Juki's manual disagrees for the MO-654DE, which takes woolly nylon in the upper looper only, so follow your manual.
For the needle and lower looper, a plain polyester cone like the Mandala Crafts 40S/2 serger cones (6,000 yards each, 4,349 ratings) covers it. Want a striped edge without changing spools? A variegated cone like this rainbow 40S/2 set in the upper looper does it. The ASG notes that how the stripes fall depends on how the brand dyes its color repeats. Our best serger thread guide compares cones in more depth.
Needles: Janome specifies HA-1 SP No. 11 for its rolled hem, and Janome's HAx1SP serger needle assortment has two size 11s and three 14s (check that its listed models include yours). Brother's 1034D takes household 130/705H needles in 80 or 90, so a card of Schmetz Universal 130/705H works there. For the model-by-model needle systems, see serger needles.
Lettuce edge, picot and napkin corners
A lettuce edge is a rolled hem on a stretched knit. Coats & Clark's tutorial has you set up the rolled hem and stretch the fabric as you serge, so it ruffles when you let go. A denser, shorter stitch gives a firmer edge with less ruffle; a more open stitch gives more. It's a knit technique: on wovens there's nothing to stretch. Differential below 1.0 stretches the edge too, by the same logic as Juki's 0.7 setting for puckers, so use it to help if your hands can't keep the stretch even.
Janome's manual adds a picot edge: same R plate and tensions, but a stitch length of 3 to 4, with the fabric pulled lightly toward the back. The longer stitch makes small scallops instead of a solid roll.
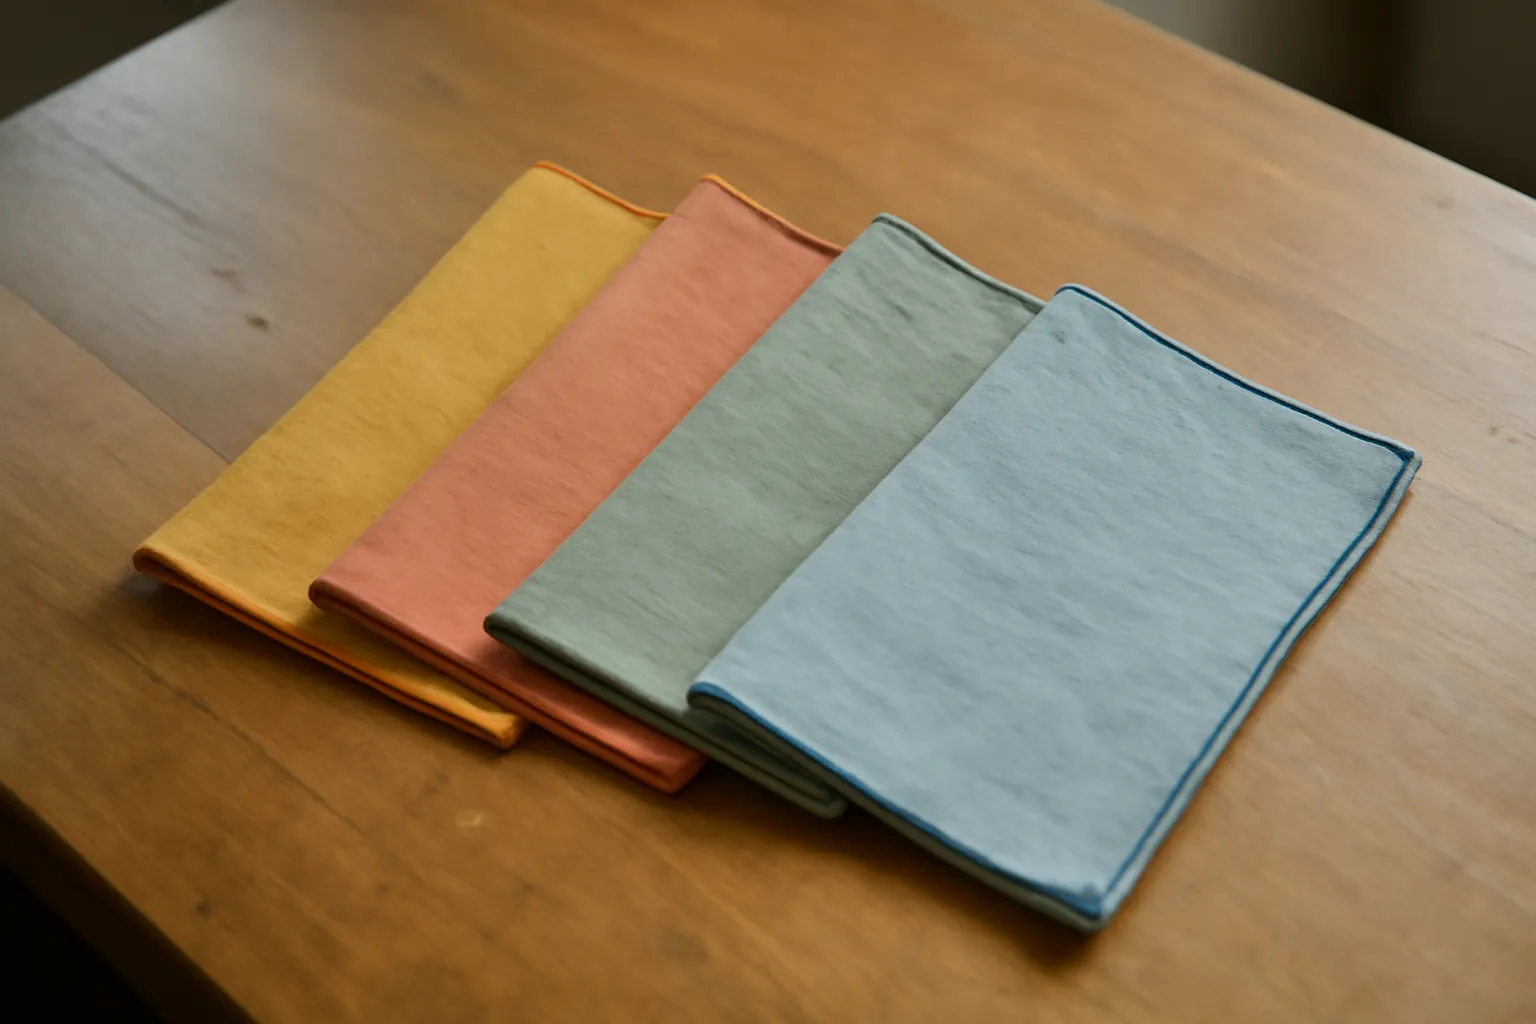
For napkin corners, Coats & Clark's method is to serge off the end of one edge, then start the next edge while holding that tail. Dab Dritz Fray Check on each corner and trim the tails once it's dry. AgeBerry's author says a true square corner won't turn and suggests rounding each corner slightly; for napkins that's an easy trade.
No serger?
A regular sewing machine can sew a rolled hem with a narrow hemmer foot, which folds the edge twice and straight-stitches it. It looks different (a stitched fold, not a thread-wrapped roll) and it's slower to start, but it's the right tool for a shirt hem you want to look like ready-to-wear. Our sewing machine hemming foot guide covers the foot sizes and Brother's and Janome's starting method. For when a serger earns its place on the table, see sewing machine vs serger.
Where to start
Cut ten 6-inch strips of the fabric you want to finish, set your machine's row from the table, and serge one strip per dial change, writing the numbers on the strip in marker. You'll have your own rolled hem chart for that fabric in fifteen minutes, which is all a manual's chart really is.
Sources: Juki MO-644DN/654DEN instruction manual (via Juki dealer Juki Junkies); Janome MOD serger instruction book; Brother 1034D handbook and 1034DX operation manual from Brother's support site; American Sewing Guild, "Serger Rolled Hem" (Linda Griepentrog); Coats & Clark, "Sew a Rolled Hem On Your Serger" (Yarnspirations); AgeBerry, "How to Make a Rolled Hem with a Serger." Checked Oct 21, 2026. How we research · Affiliate disclosure