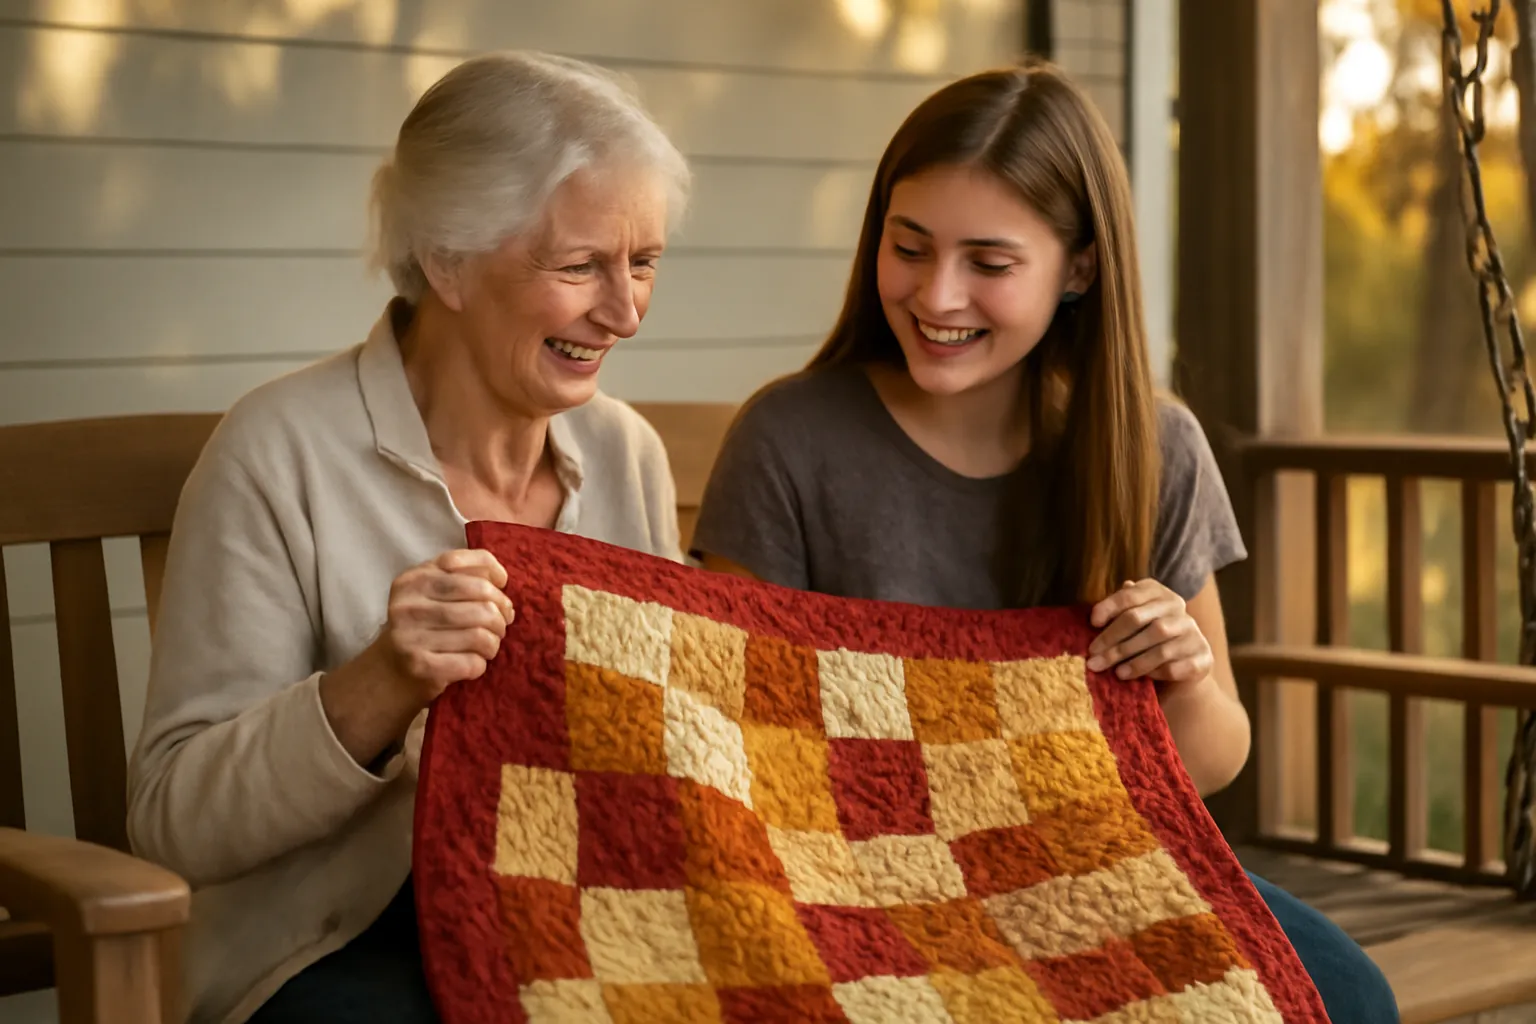
To machine bind a quilt, sew the folded binding strip to the back of the quilt with a 1/4 inch seam, mitering each corner, join the two ends with a diagonal seam, then wrap the binding to the front and stitch it down just inside the fold. Use 2.5 inch strips, clips instead of pins, a walking foot if you have one, and a stitch length around 2.5 to 3 mm.
This guide picks up after the cutting. If you haven't worked out how many strips to cut, run your quilt size through our quilt binding and backing calculator first, and read how much binding for a quilt for how to cut and join the strips.
Which finish to use
There are three common ways to bind entirely by machine. They differ in where the binding gets sewn first and which side shows the final stitching.
| Method | Sewn first to | Final stitch | What shows | Best for |
|---|---|---|---|---|
| Back first, edge stitch | Back | From the front, close to the fold | A neat line on the front binding; on the back it sits just inside the binding | Most quilts, and beginners |
| Front first, stitch in the ditch | Front | From the front, in the seam between quilt and binding | Almost nothing on the front; a line on the back binding, which you can't fully steer | Show quilts and anyone who wants a hand-bound look from the front |
| Flange binding | Back | From the front, in the ditch beside a narrow contrast flange | A thin accent strip; the stitching hides beside it | A decorative edge; follow your pattern's strip widths |
The steps below are the back-first method, which three of the tutorials we read (Seasoned Homemaker, Grace Company and Melanie Kham) all use. The changes for the ditch method are in their own section further down.
Set up the machine
- A fresh needle. Seasoned Homemaker uses a Schmetz 100/16 jeans needle to stop skipped stitches through all the layers.
- 50 wt cotton thread. Match the top thread to the binding and the bobbin thread to the backing, since each shows on its own side.
- A walking foot if you have one. The binding is a folded strip on top of three quilt layers, and a regular foot tends to push it ahead. Our guide to using a walking foot covers fitting it, and our Brother page lists which walking foot fits each Brother.
- Stitch length 2.5 to 3 mm.
- About 30 to 40 clips. Trim the quilt edges square before you start.
Step 1: Sew the binding to the back
- Turn the quilt backing side up. Lay the folded binding along one long side with its raw edges matching the quilt's raw edge, starting about three quarters of the way down that side.
- Leave a tail of 6 to 8 inches loose, then start sewing with a 1/4 inch seam allowance. Backstitch a couple of stitches.
- Clip the binding ahead of the needle as you go rather than all at once, so it doesn't get stretched along the edge.
Melanie Kham suggests checking after the first 8 to 10 inches: fold the binding over to the front and make sure it covers the stitching line with room to spare. If it doesn't, you can still widen the seam a little before you've gone far.
Step 2: Miter the corners
- Stop 1/4 inch from the corner with the needle down. Mark the spot first if it helps.
- Pivot and sew off the edge of the quilt at a 45 degree angle toward the corner, then take the quilt out from under the foot.
- Fold the binding straight up, away from the quilt, so the fold makes a diagonal in line with the stitching.
- Fold it back down along the next side, with the fold level with the edge you just sewed and the raw edges matching the new side.
- Start sewing again from the top edge with a 1/4 inch seam and a backstitch.
Step 3: Join the ends
Stop sewing when you're 10 to 12 inches from where you began, and backstitch. Graceframe leaves 12 to 15 inches; more room makes the join easier on a thick quilt.
- Lay both tails flat along the quilt edge, overlapping.
- Trim the top tail so the overlap equals the width you cut your strips: 2.5 inches for 2.5 inch binding. Seasoned Homemaker trims a scant extra 1/4 inch so the binding sits snug.
- Open both tails. Lay them right sides together at a right angle, as you did when you joined the strips.
- Draw a diagonal from corner to corner and pin. Check the binding isn't twisted before you sew.
- Sew on the line, trim to 1/4 inch, press the seam open, refold the binding and sew the gap closed.
If measuring the overlap is the part that trips you up, The Binding Tool is a template made for marking this join; it had 1,759 ratings when we checked.
Step 4: Stitch it down from the front
- Turn the quilt over. Fold the binding over the raw edge to the front so the fold just covers the first line of stitching, then go a hair past it.
- Clip every few inches. Graceframe uses a washable glue stick or an iron to hold the fold; Lella Boutique credits school glue for her machine bindings. Either way, the glue stops the binding shifting under the foot.
- Stitch close to the fold, about 1/8 inch in, with the top thread matching the binding.
- At each corner, fold the miter closed, sew one stitch past the point, leave the needle down, turn and carry on.
The one thing that ruins this finish is stitching that misses the binding on the back. That happens when the fold doesn't quite cover the first stitch line. Pulling it slightly past the line, as a reader on Lella Boutique's post found, fixes it.
An edge joining / stitch in the ditch foot makes the front stitch easier: butt the fold against the center blade and move the needle position to the side. Melanie Kham uses one for exactly this, and the snap-on version we link fits low-shank machines per its listing, with 1,815 ratings.
The front-first ditch method
Swap the sides: sew the binding to the front of the quilt in steps 1 to 3, fold it to the back, and clip or glue it so it covers the stitching line on the back by about 1/8 inch. Then, from the front, stitch exactly in the seam where the binding meets the quilt. The stitches sink into the seam and the binding on the back gets caught along its edge. It looks closer to hand binding from the front. The trade-off is that you can't see the back while you sew, so glue basting matters more here.
Common problems
| Problem | Cause | Fix |
|---|---|---|
| Final stitching misses the binding on the back | Fold doesn't cover the first stitch line | Fold past the line; glue baste; or use 2.5 inch strips next time |
| Binding ripples along the edge | Binding stretched while sewing, or edge not trimmed straight | Clip as you go, use a walking foot, square the quilt first |
| Join is too loose or too tight | Overlap not equal to the strip width | Re-measure the overlap; unpick and resew the diagonal seam |
| Bulky, rounded corners | Didn't stop 1/4 inch from the edge before the 45 degree turn | Mark the stop point on each corner |
| Skipped stitches | Needle too fine for the layers | Larger needle, such as a 100/16 jeans needle |
Before and after
The two jobs either side of this one: cutting the strips, which the binding calculator and a 45mm rotary cutter handle, and choosing a size for the next quilt, which our quilt size chart covers. For holding the binding, the 100-pack of sewing clips we link on our other quilting pages was still selling 10,000+ a month in October. If your machine struggles with the thickness of a binding corner, our quilting machine guide covers the models with a walking foot in the box.
Method and settings from Seasoned Homemaker, The Grace Company, Melanie Kham and Lella Boutique, read October 21, 2026. Product details and sales from each Amazon listing, October 21, 2026. How we research · Affiliate disclosure